
Today, i will discuss regarding the sql server instance creation in AWS. First of all, login to your AWS account. Go to services -> RDS. Below image will appear on your screen.
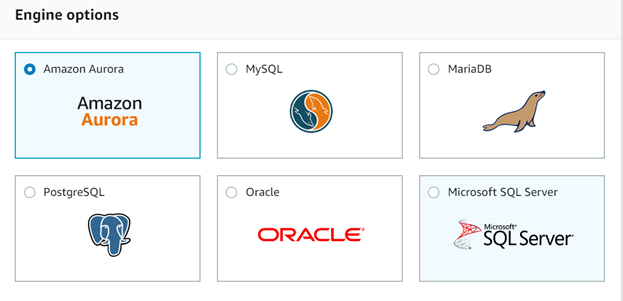
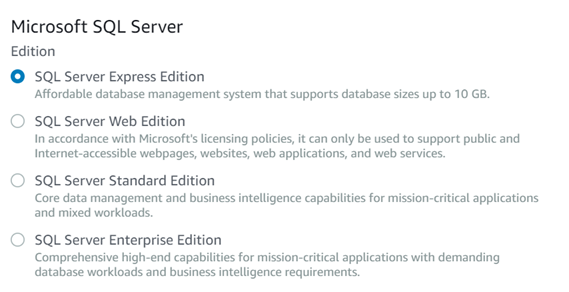
Select SQL server as database Engine. Check the checkbox on “Only enable options for RDS Free Usage Tier” if you are using free Tier Account. Once you check the checkbox, it will automatically choose the option “Sql Server Express Edition”.If you are working on a project, choose the option as per the client requirements. See the below image for the same.
Flat 10% Off SSL Certificate
Click on Next. In next section , you need to set the DB engine version, i choose SQL Server 2012. You can select Timezone as well. But it is not mandatory. See the below image for the same.

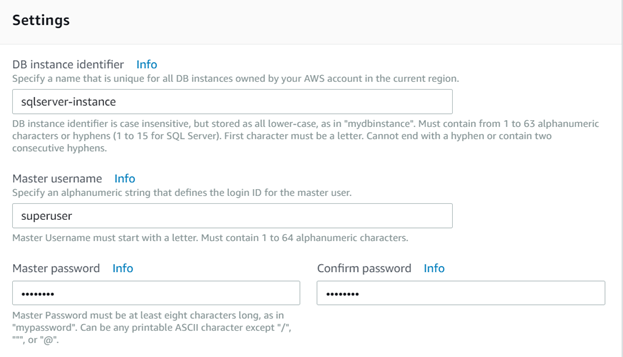
Now, you need to set name for sql server instance. I gave the name as “sqlserver-instance”. Set Master username and Master password. See the below image for the same.
Click on Next. In next section, there are some advance settings , which requires no change in case of Free Tier Account. Then Click on “Launch DB instance”.Below image appears on the screen.

As you can see in above image , instance creation will take time. After half an hour, the instance gets created and available for use. See the image for the same.
