
In this Blog, we will discuss about “How to update your Master Branch in visual studio”. This can be accomplished using pull command. Before that, we need to understand why we need to update the local Master branch to that of remote Master branch which is git Repo. In a project, multiple people works on the same module and hence we need to update local Master branch so that all changes which are done by developers are updated in your local Master branch . Therefore, when you check-in your changes , it won’t create any conflict while merging the same.
Consider a file (R-Sample.r) . Below is the content present in git and in my local master branch.
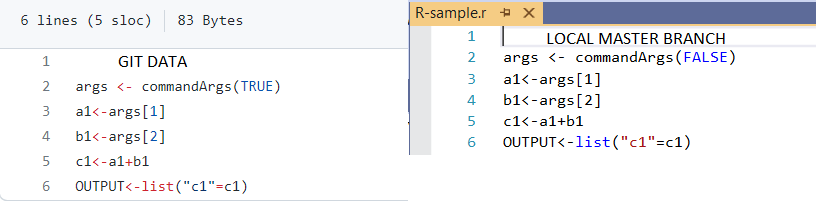
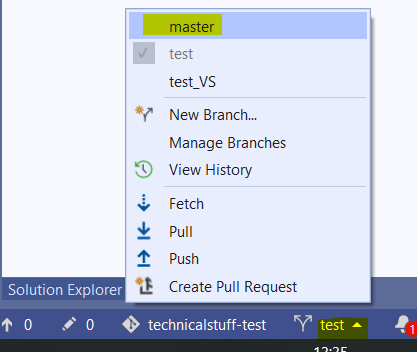
As you can see first line is different in both the cases, so in this case we need to update local Master Branch. In order to do this, first you need to switch Branch from test to Master. See the below SS for the same.
Now, you are in Master Branch. Go to git changes Section, on the Right top , you will see button(downwards Arrow ).Click on Pull.
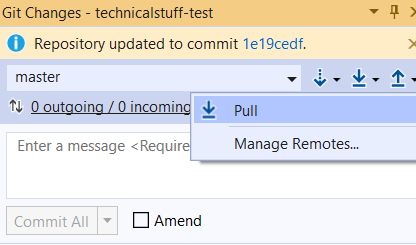
Now, your master Branch is updated.