Today, I will share my knowledge on Git GUI. I have seen many users who prefers Git Bash over Git GUI. Developers finds Git GUI not as user friendly as Tortoise SVN GUI. That’s why , I decided to write about Git GUI.
The very first step in every version control tool is clone. Below are the steps to clone the remote git repository into your local Machine . To put it differently, You need to create local repository in your windows Machine.
STEP 1 : Open Git GUI. Once you open the Git GUI , below Screen will appear on your system.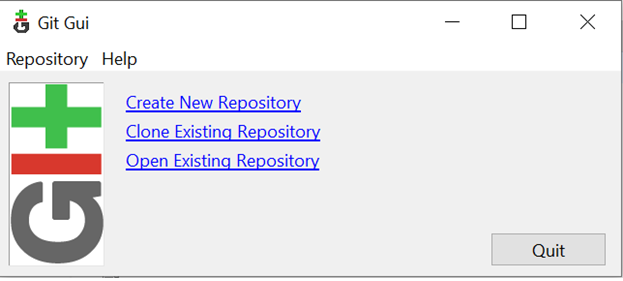
STEP 2 : Go to Repository->Clone. Fill the source and Target Path. Subsequently , click on Clone. It will clone the “Master Branch” of remote git repository in your Local Machine.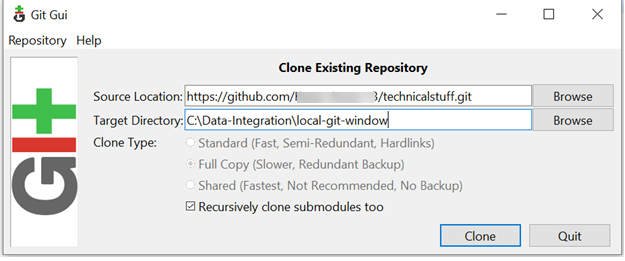
STEP 3 : Scan the Local Machine Path where you cloned the remote git repository. Find the below SS for the same.
Saturday, July 27, 2024